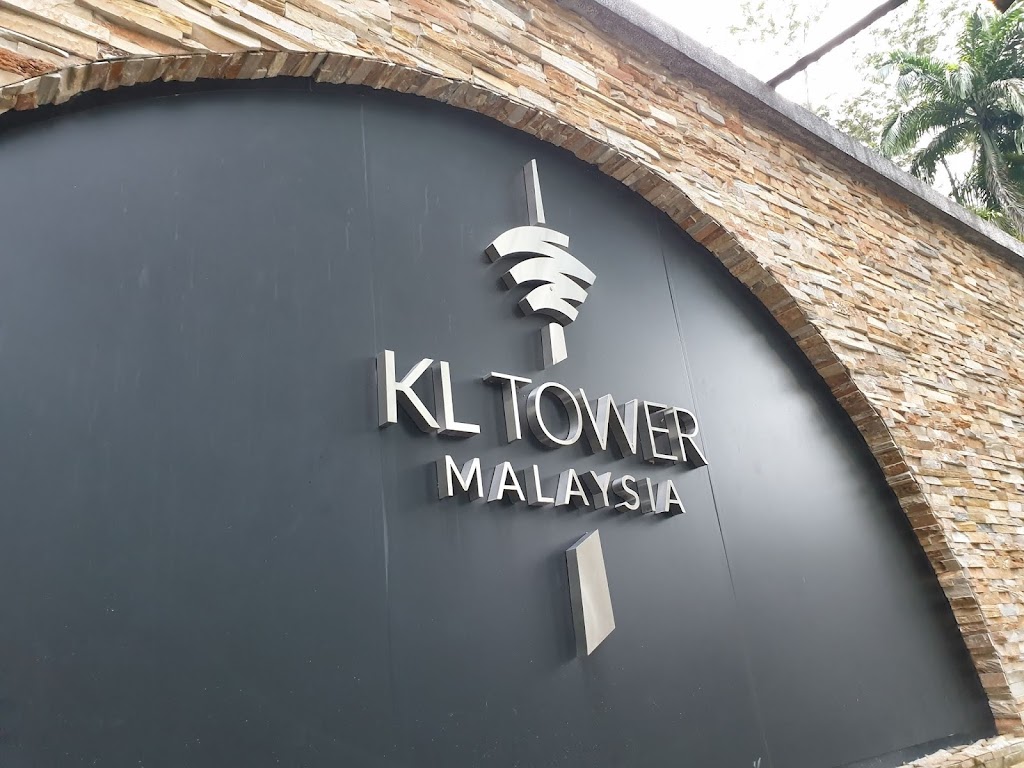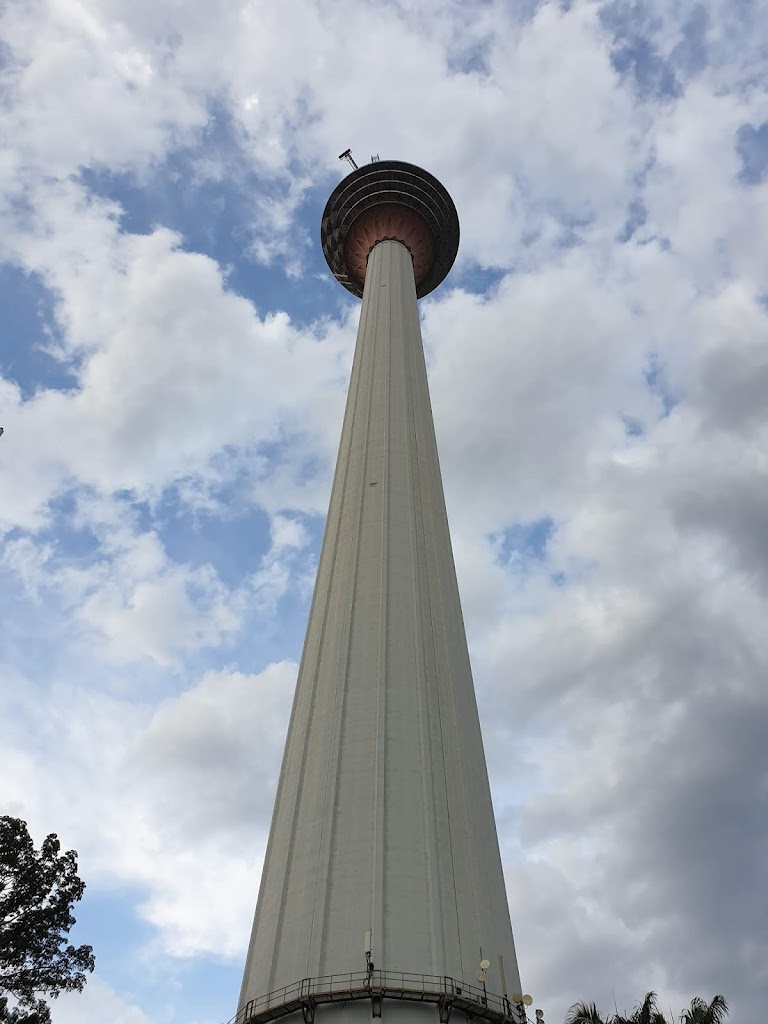
Introduction

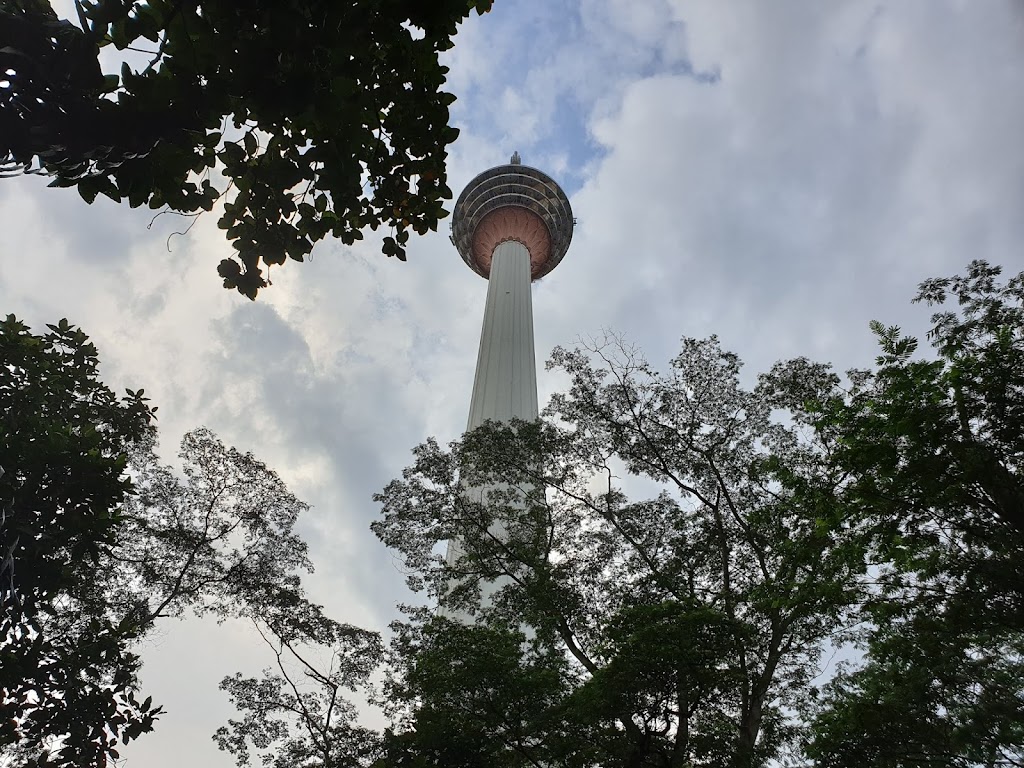
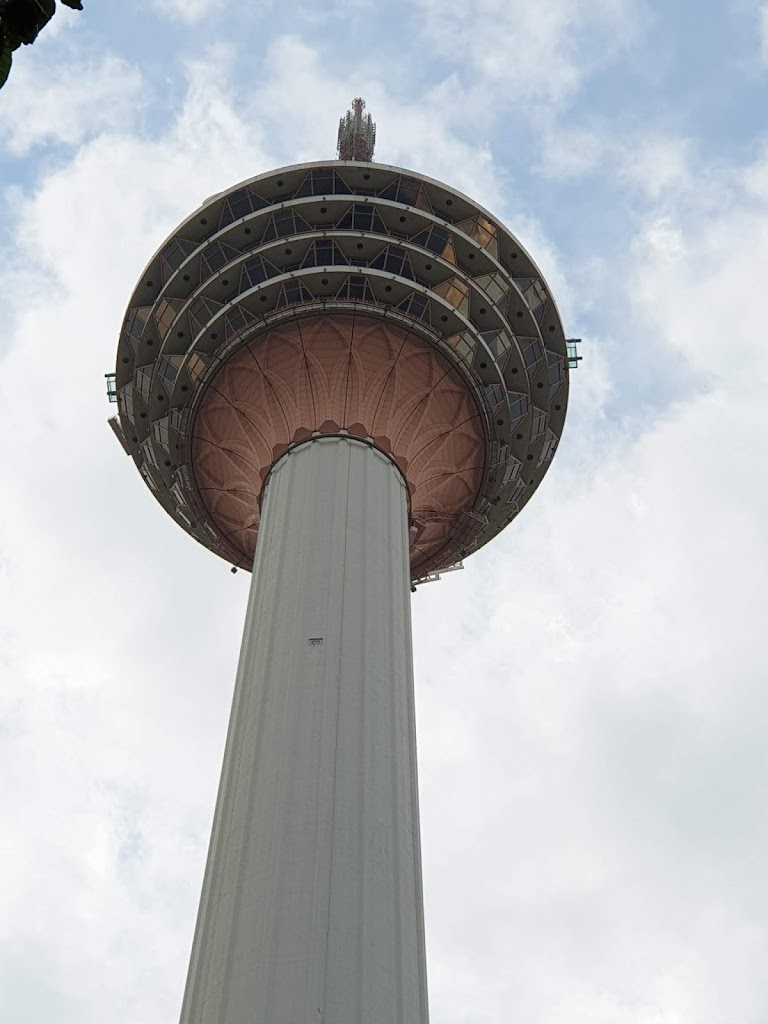
After the KL tower visit, our next stop was to go to Batu Caves during the early part of the day. We decided to take a texsi to Batu Caves, and on the way back I was in the mood for experimenting the train part. I was sick since the last evening and was not quite in the mood to use railway on the way to the temple. The texsi (taxi) costed us about 50RM for four people so that was somewhat less expensive.
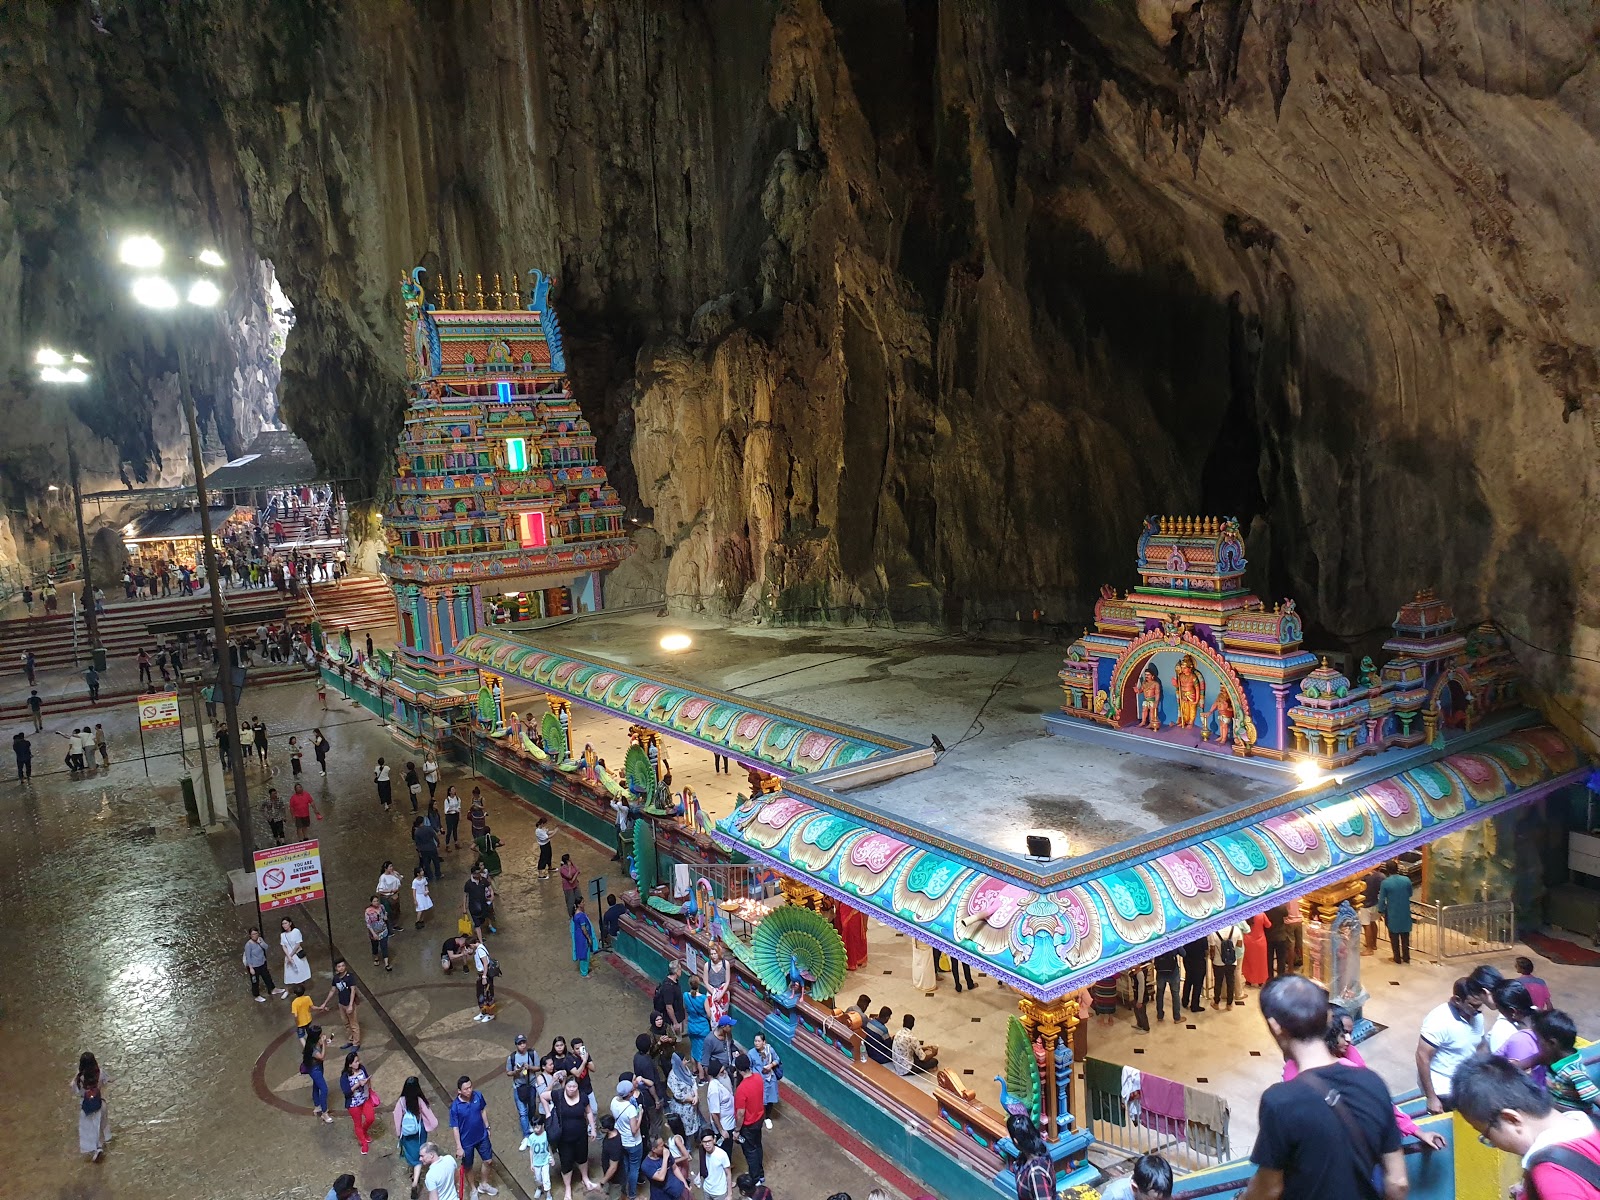
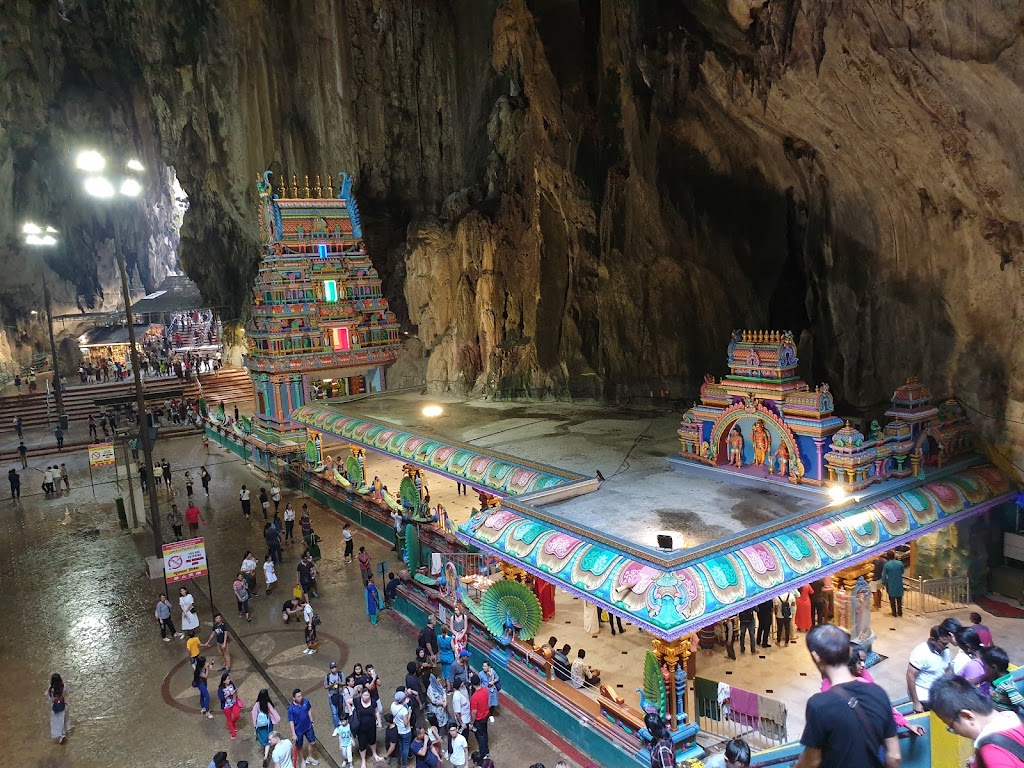
For the uninitiated Batu Caves is also known as the 10 caves or Hill for Lord Muruga as there are six important holy shrines in India and four more in Malaysia. The three others in Malaysia are Kallumalai Temple in Ipoh, Tanneermalai Temple in Penang and Sannasimalai Temple in Malacca. For more the information regarding the caves, read here.
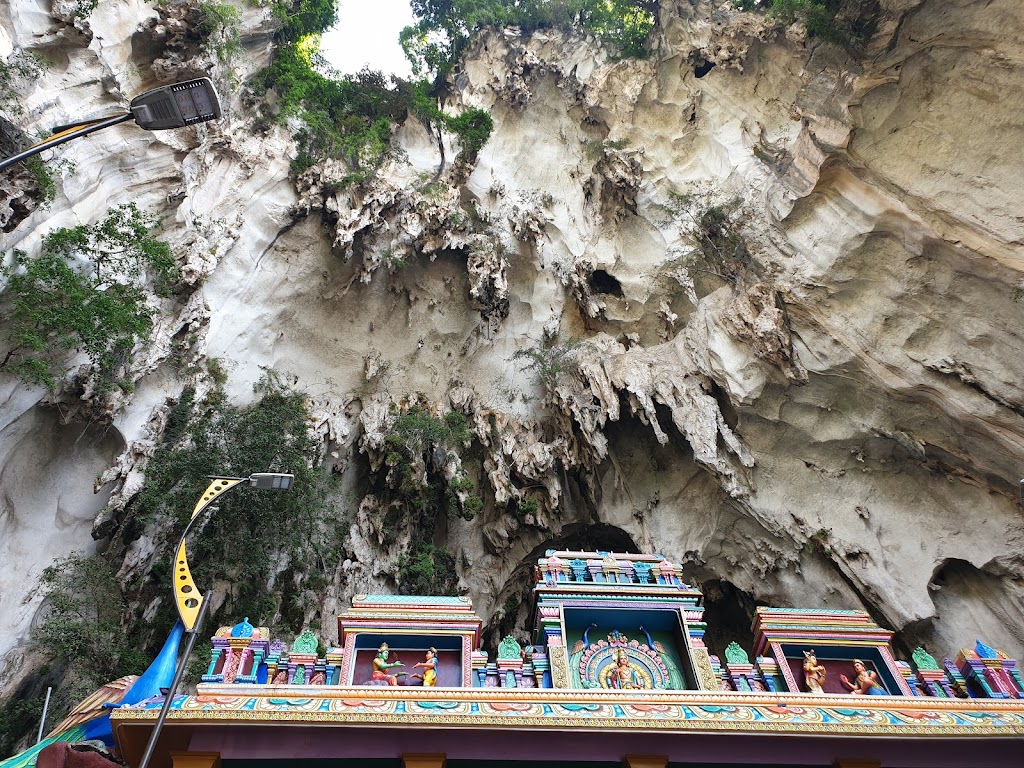
The limestone rock forming the cave is some 400 million years old according to facts available and that in itself is a reason you must go there if you are living in this era. Although Chinese and Americans recorded the history of the existence of the caves, it was an Indian who installed the statue of Lord Muruga during 1890’s bringing about the meaning of a temple cave for this attraction.
Details
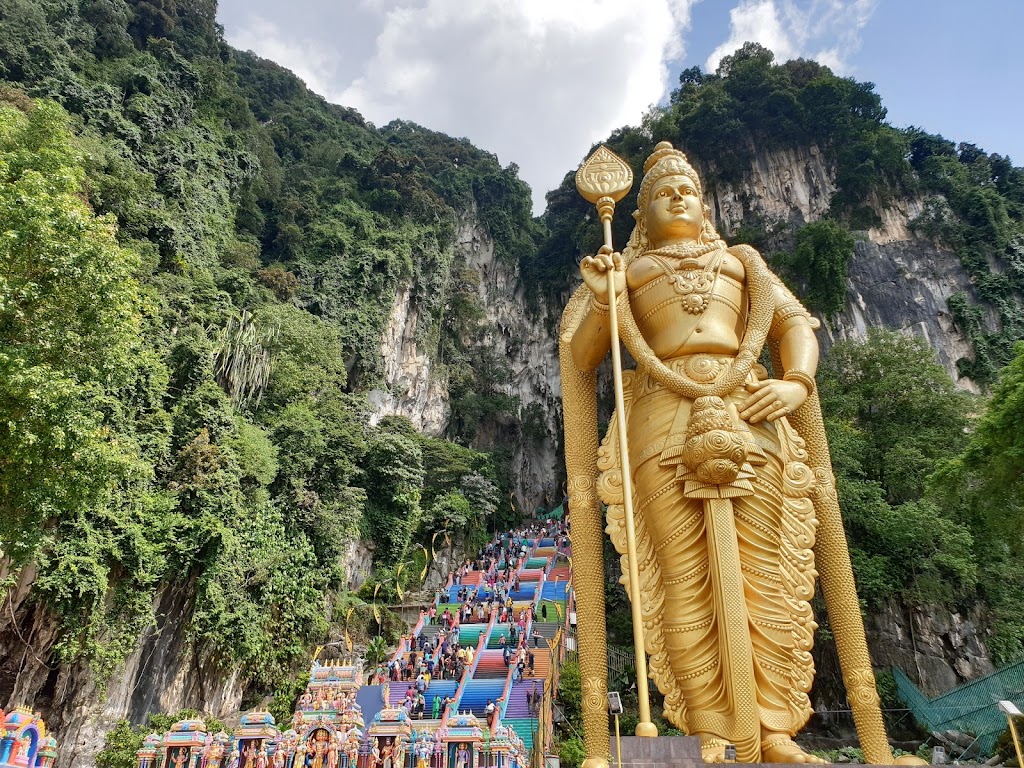
The cave itself is about 100m tall, and has about 272 steps. This is relatively less but what makes it a challenge is how steep the steps are to reach the top. They are rather precarious and it takes a considerable amount of effort to reach the top where the temple is located.
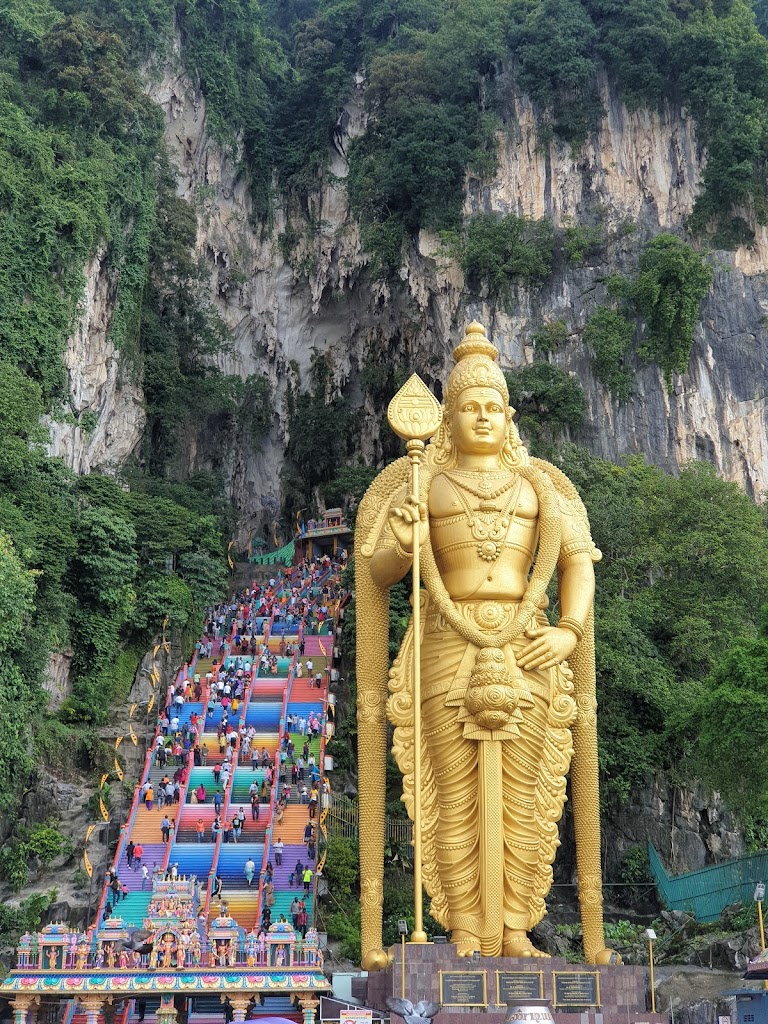
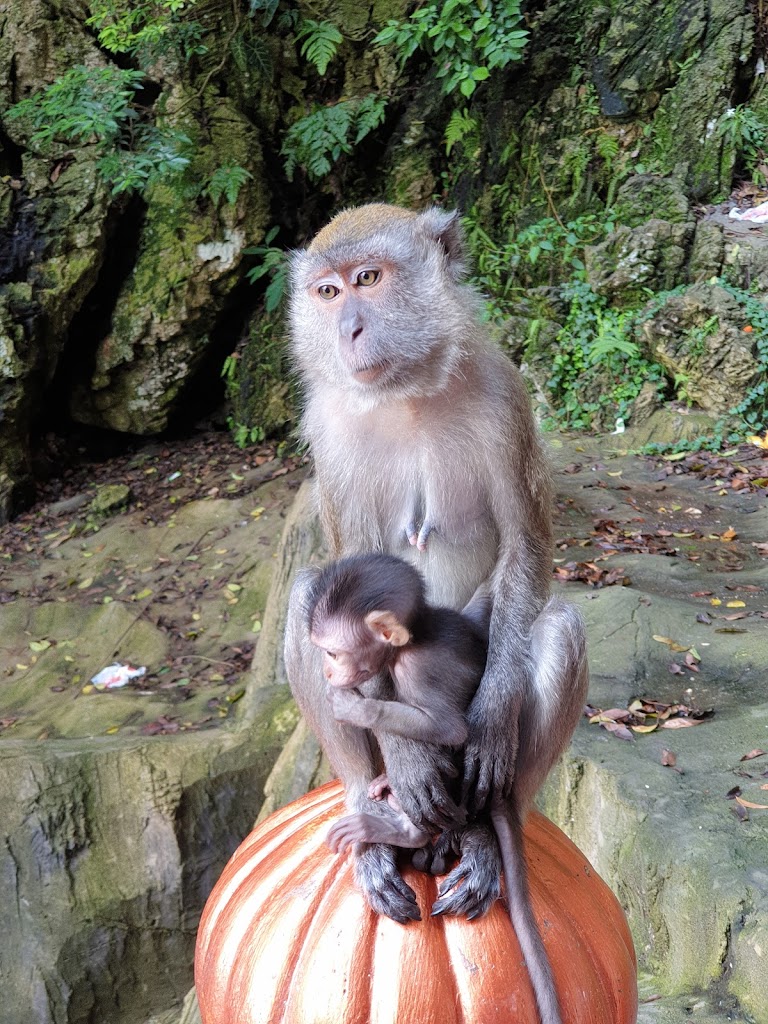
The monkeys along the way although do not disturb people too much unless provoked but they do snatch any eatables that you would have with you if you are not careful. What makes it a bit dangerous is since the steps are at a steep angle you need to be careful not to get disturbed and keep going up until you reach the top.
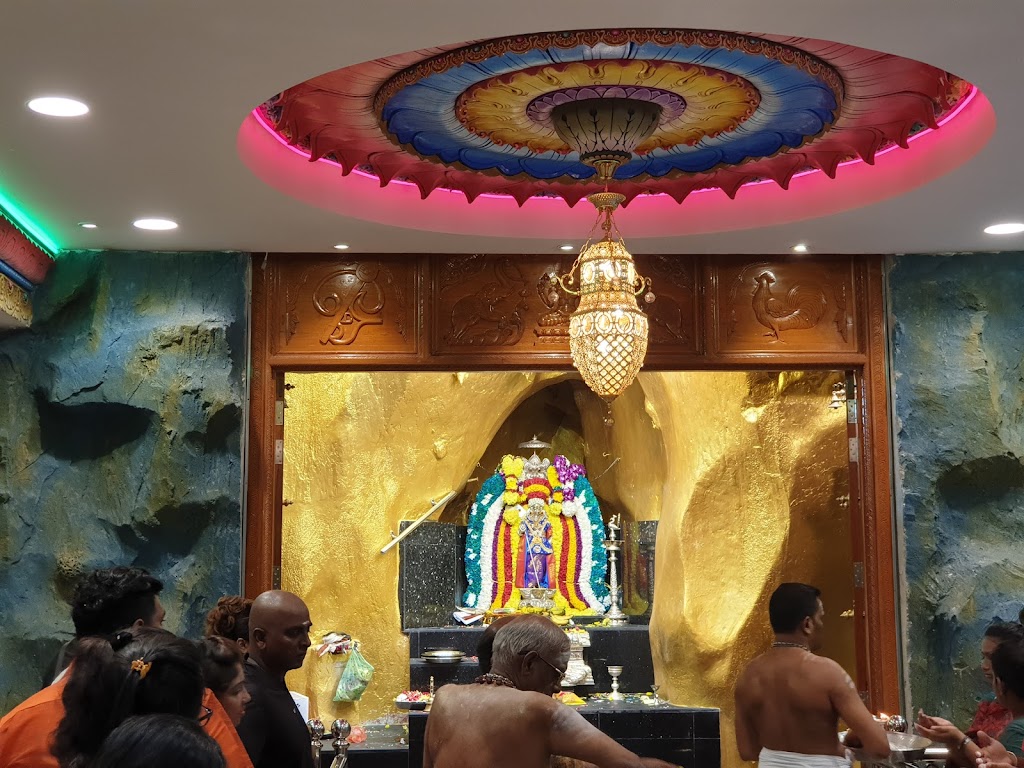
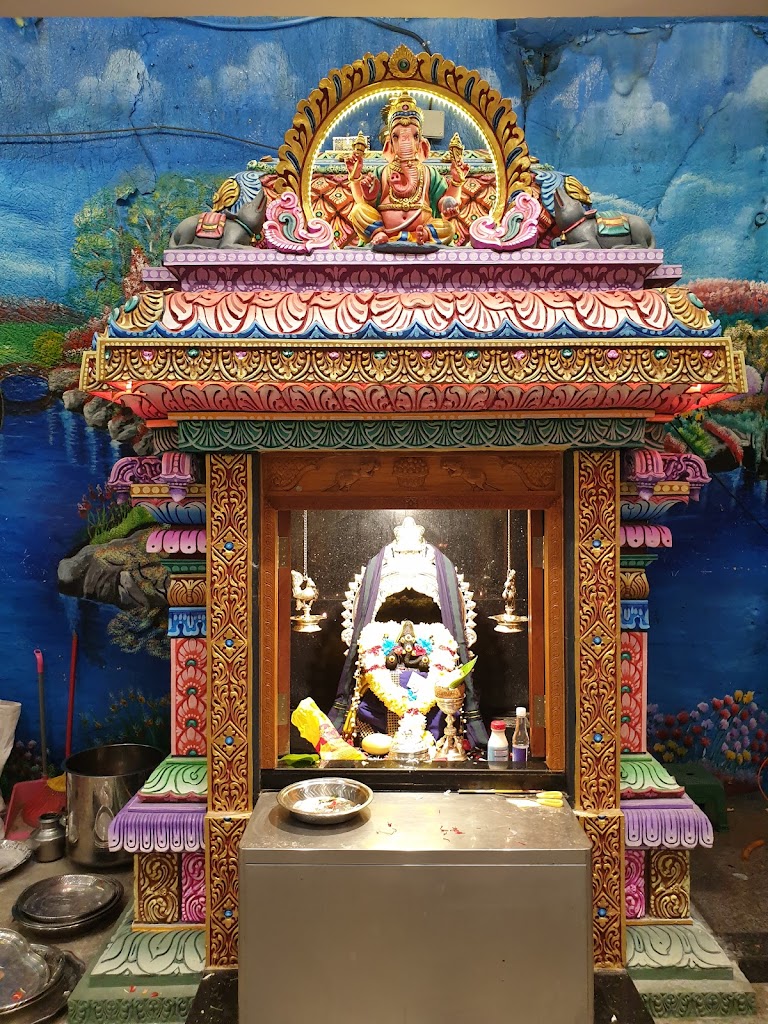
There are three things to see at Batu Caves – the temple cave which houses the main temple, the Dark Cave which has other underground cave portions plus some species such as spiders and fruit bats and would require that you book the exploration trip in advance, and the Art Gallery where you can find Hinduism related artefacts.
There is a huge Murugan statue at the entrance of the cave which took 3 years to build at 2.5 million ringgit. It is made of steel bars, concrete and gold paint which give it the undeniable aura of splendour. For more you can read here.
Fees, and things to see
As for the temple cave entry it is free for all, though there are some dressing restrictions (you will need to cover your body, specifically waist downwards with proper attire). For the dark caves which I did not visit the entry is 8 USD for adults and 6 USD for kids.
There are nice paintings within the temple cave which depict scenes from the Ramayana. It will take a good half or more to climb based on your physical fitness, another half hour of checking out the temple and other higher cave areas around the top, getting a view of KL town from the top, and about 15-20 minutes to come down. It is advisable you carry a water bottle for yourself as for adults, no extra food maybe needed.
There are shops selling souvenirs up the top but these mementoes are expensive. I did check out other shops within KL for the same things, but did not manage to find something good. If you want the mementoes my advise is to buy it at the temple although it costs a bit more. You will not regret it later. That is of course your personal preference.
There are a lot of pigeons around the place and you can feed them for 5RM worth of purchased bird feed from people selling it there.
Travel
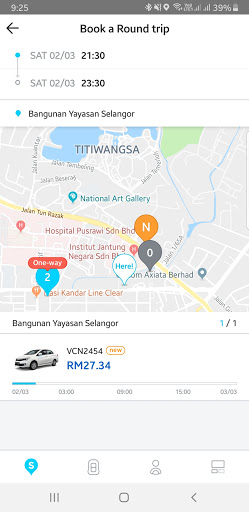
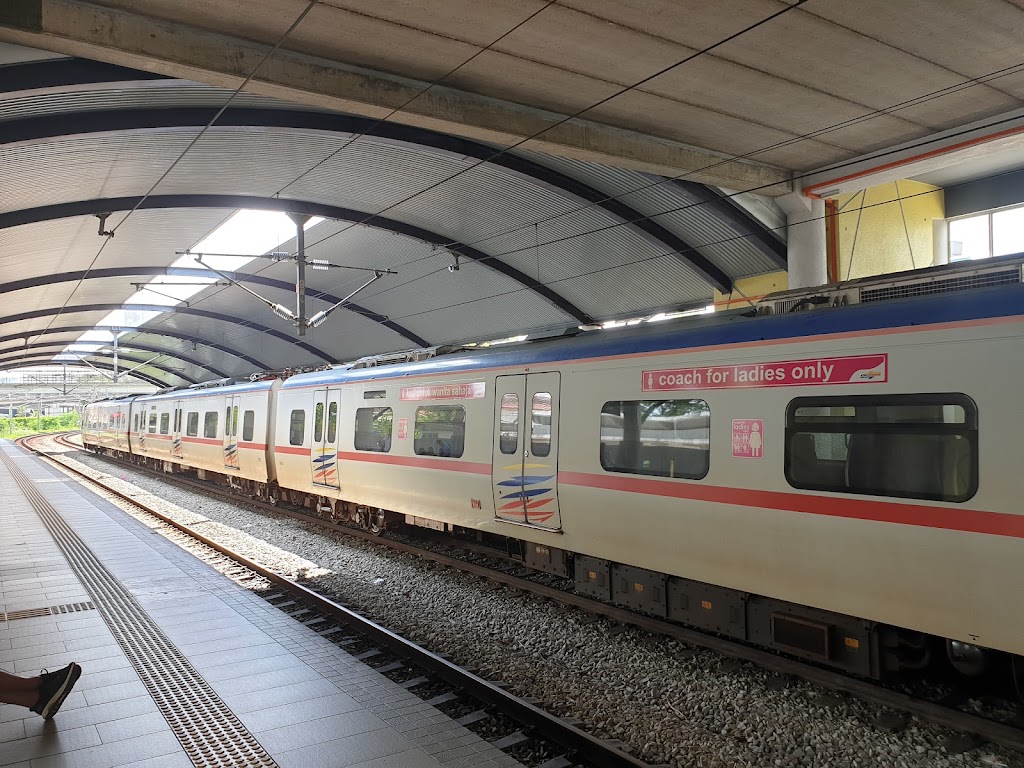
Finally we decided to walk a bit out of the temple towards the Batu Caves KTM Komuter rail station. This is not a high frequency train and one will need to wait for the train for a while, sometimes even up to half hour. The Touch and go card which is available all over Malaysia will work for this train and you need to travel from Batu upto KL Sentral to reach city centre again. Since we were staying at the Vortex Suites, this suited us best. The train itself was comfortable but not as fast as MRT trains. It was very neat and many people regularly use the KTM Komuter service as it connects city centre to suburbs.
There are also at least two or more Indian restaurants just near the temple, so be prepared to shell out about 100 RM for a family of four for some decent food. Cost may go up a bit if you order more. But for Indians the good news is these are vegetarian restaurants, and one of them serves Jain food as well.
The Batu Caves temple is a must visit for people who to go KL as it is easily accessible from city centre and takes just half a day to complete. Moreover it is free to visit the main temple and a unique experience to watch the statue and the colourful steps to reach the top. For the brave hearted, the Dark Cave offers much more adventure if you are going on a guided tour of those. The weather would be generally hot, with occasional spells of rain as is the case in most Malaysian regions, specifically within KL. The air is dry so you may want to keep some nasal saline drops handy to unblock your nose if you feel uncomfortable.